|
- Once I have all that positioned, I sew down the first sew line using a VERY short stitch length, to help
when removing the paper later J …
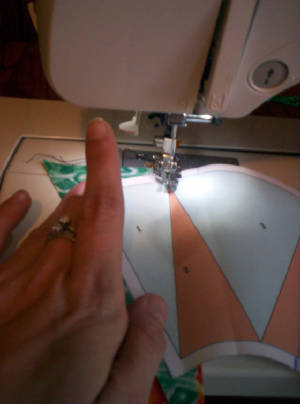
- Once sewn I will flip to the front and press the fabric open. I am a bad girl and really like to iron my
seams hard!! Which is against the rules, but that’s what I like to do when paper piecing J
(But Only when paper piecing!)
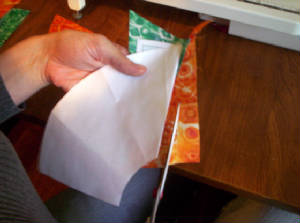
- Now I am going to turn the piece over again, see how tiny my stitches are…and FOLD the paper again,
this time on the piece 2-3 Sew Line…
- Here you can see my paper is folded down along the piece 2-3 sew line, and I am going to TRIM the excess fabric down to
a ¼ inch (or so, it doesn’t have to be perfect when you paper piece, I don’t even bother to measure J
oops! did I break another rule!! J )
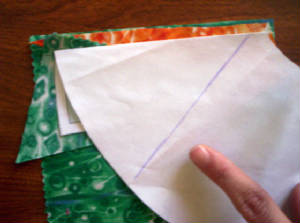
- Next, I am going to lay my Piece 3 fabric under the piece 2 fabric along the line I cut on the edge of my
seam allowance (piece 3 was rather large so I did not cut on the diagonal, I just cut a rectangle 1 inch wider than the piece
all around… and will use the left overs for another block…Once again here I darkened the piece 3-4
sew line on the back side of the paper so you can see that my fabric will cover this entire area with plenty of room for error…
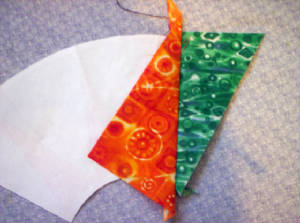
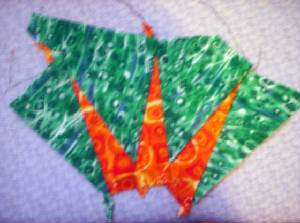
- Once your piece 3 fabric is positioned, sew along the 2-3 sew line, press open, fold down the next sew line
and trim down the seam allowance. Repeat this for the rest of the pieces of this unit… Here is my funky looking unit
all pieced J
-
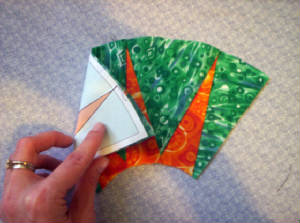
Now trim all around this unit, to your ¼ inch seam allowance edge- (I left a little extra on mine but I don’t
really recommend doing it that way, it could confuse you when lining up the units to sew together, its easier to just line
up the exactly cut seam allowances… I’m just lazy J )
After I am done trimming this down, I also sew (baste) all the way around this piece inside the
seam allowance… I’m telling you, this really helps keep your fabric from flipping back, or moving at all while
sewing the Units together, which has happened to me several times, then I was stuck trying to rip out my tiny stitches for
an hour, this is my solution to that problem J
|