|
- Now I am going to do the same thing with the unit A - pin, baste (sew) and trim…
- Now its time for the paper piecing- This is also my method, you may paper piece differently, but you also
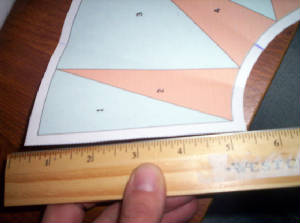
might like to try something new J I start off by measuring my number 1 piece on the paper unit-

- I’m going to cut a rectangle of fabric that measures 3.5 by 6 inches. This is about an inch wider,
in both directions, than needed, I like to be on the safe side J plus I am going to cut this in
half diagonally to make two triangles …
- Do the same for your number 2 piece, before you cut in half on the diagonal just make sure the fabric will
cover the area, lay your fabric on top of the numbered section, FACE UP, and see if it covers it well enough to cut in half…
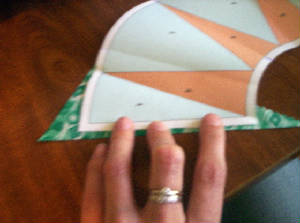
- Now I take my Piece 1 fabric and lay it face down, I take my Paper unit and FOLD along the number 1 and 2
sew line, when folded down I position the Paper unit so that the line of the fabric is aligned with the line of the piece
1 - 2 sew line, and leave a ¼ inch (at least) of fabric showing all the way around (for seam allowance)

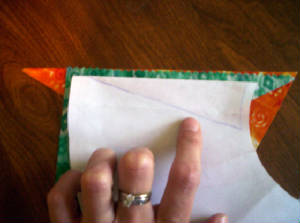
- Now, I will leave the paper folded down while I add the piece 2 fabric. I will position the piece 2 fabric
FACE UP under the piece 1 fabric, and here I have darkened the piece 2 lines, from the back, to show better here… You
will probably be able to see these through your paper… use this as a guide for your next piece (#2) If the fabric covers
this entire area plus a ¼ inch seam allowance then you KNOW your fabric will cover it when
sewn. See picture below…

Remember my Paper is still folded here and I can see that my orange fabric for the # 2 piece will cover the
area I darkened, with room for seam allowance…
|


